I got this idea for a blanket from my friend Jill. It took about 3 hours from start to finish. Here's how you make it: (and don't be afraid to post any questions in the comments section. I'm not so good with the step by step thing).
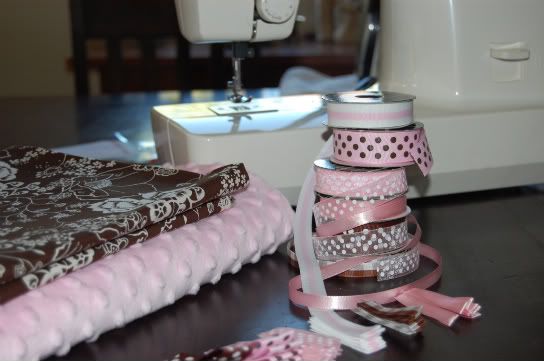
Choose your fabric and ribbon. You can do as much as you want with the ribbon. It will get more expensive with the more ribbon you use. I had all of this ribbon on hand so I didn't have to buy any, that's why I used 6 different kinds. You could use different ribbons or you could use the same ribbon. Either way would be cute! The thing that attracted me to the blanket was the cute ribbon and the soft textured material. I don't even know the name if it but it is sooo soft and sooo cute. I bought it at Hobby Lobby for $12.99 a yard but use a coupon and you an get it 40% off.
First thing you do is decide where you want to place your ribbon. I just did mine on 2 ends of the blanket. Cut your ribbon in 4 inch strips. Fold it in half and iron it so it will stay creased and it will be 2 inches. This ironing the ribbon part is what took the longest to do. Everything else went by so much faster.
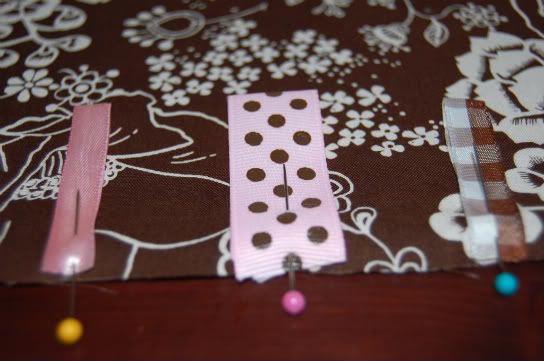
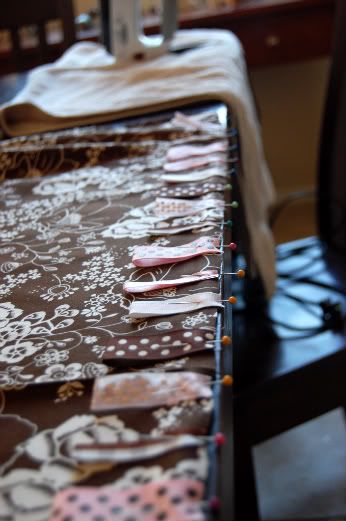
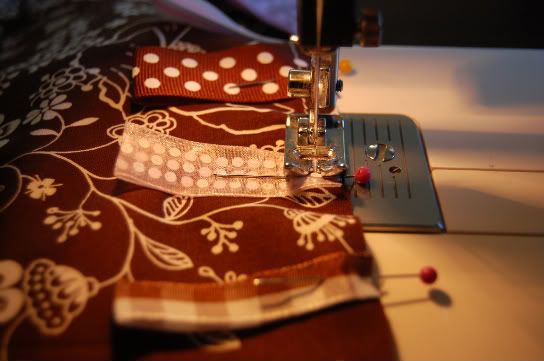
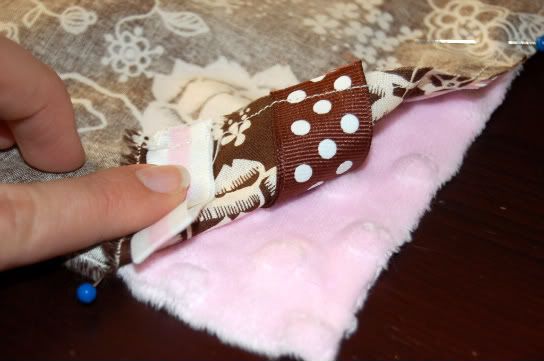
After the ribbon is ironed, pin it to the good side of one of your fabric. Make sure to pin it on with loop of your ribbon facing in towards the blanket. Pin the raw edges of the ribbon and the fabric together. Here's a couple of photos to maybe make a little more sense...
Once you have your ribbon pinned on... sew it together.
Like I said I did ribbon just one 2 sides of my blanket. My friend Jill did 4 sides of the blanket she made and it was adorable. Once the ribbon is sewn on you'll lay the piece of fabric with the ribbon on top of the textured fabric. Good sides facing each other, in this picture I just flipped up the corner to give you an idea of which way is correct. Good sides touching...
and pin it together to stay in place while sewing. Pay attention to where you start sewing because you're going to sew all the way around the blanket. All 4 sides. When you get back to the side you started on leave a good 3 inch opening and end your stitch there. You want the the opening because this is where you turn the blanket right side out. So your good sides of the fabric are on the outside. Make sure you remove the pins before you turn it though. They're hard to remove when the pins are on the inside of the blanket. I didn't take a picture of this step... I forgot because I was too excited to see the final product. Once the fabric is turned right side out stitch the 3 inch opening closed by hand. I think Jill said at this point she actually sewed all the way around the blanket but I just left mine.
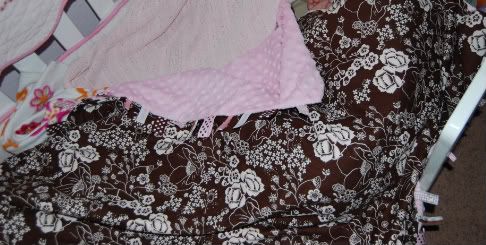
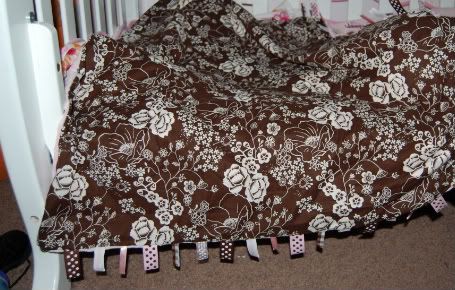
I don't know how I forgot to take a picture of the final product but I the only one I have is while it's being used. Ha!
Subscribe to:
Post Comments (Atom)







2 comments:
I love this blanket and the pictures don't do it justice. This was so so so so adorable. I need to make 419 of them LOL
Gorgeous!!! I am going to bookmark this one!! I LOVE LOVE LOVE the blanket!
Post a Comment