Hooded Towel Tutorial. Grab a full sized towel and a hand towel and [re]beautify it.
I'm leaving for the weekend and I should be packing and getting ready to go but I'm not. I'm sitting here on my big rear typing away & stressing about everything that still needs to be done. I'm excited about this tutorial though.
Here's how I did it...thanks to my friend Beth.
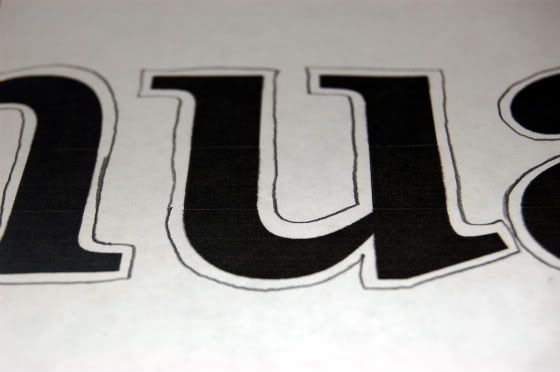
Start with a font you like and enlarge it to the size you want. I chose this font but it wasn't thick enough so I printed it and then drew an outer line to make it even thicker. Cut out your letters
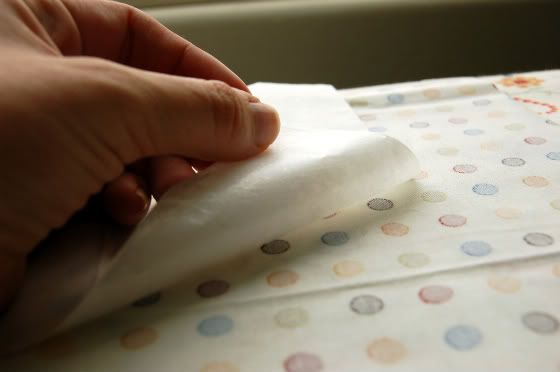
Then I got some iron on adhesive. The one I used was Heat N Bond but there are others like Wonder Under. Make sure you get the one that allows you to sew after it's been applied. Next you're going to adhere your fabric to the heat n bond. Place together the bumpy side of the heat n bond and the wrong side of your fabric. Iron over it until it's stuck to the fabric. Here's a picture, bumpy side of adhesive and wrong side of fabric...
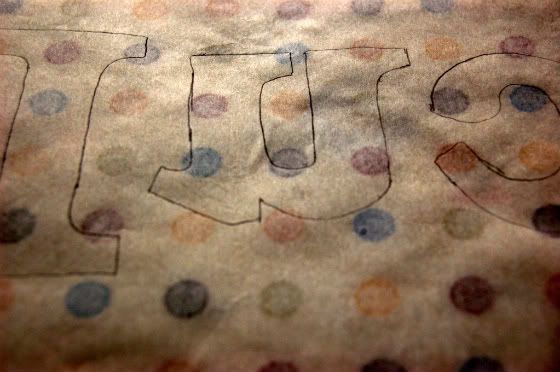
Next, you take your cut out letters and trace them backwards on the other side of your heat n bond. This way, you letters come out facing the right way. You'll see what I mean in the next step. So, trace your letters backwards on the paper side of the heat n bond and then cut them out again.
Next, get a hand towel that matches the towel you'll be using. Cut the hand towel in half.
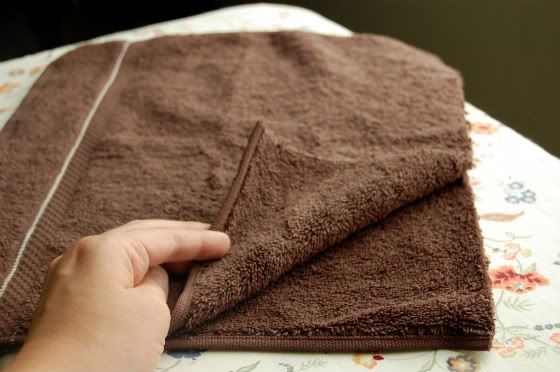
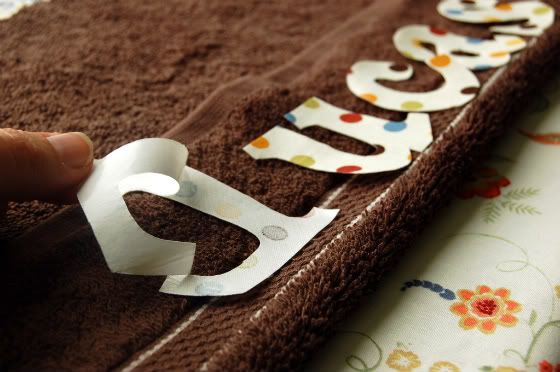
Now, fold up the end of your (half hand towel) towel so that the letters will fit. This is where the letters will be sewn so make sure you give them enough room. Space them out and remove the paper side of the heat n bond. If you look you'll see there will be a shiny residue on your fabric and this is what will make your fabric stick to your towel so you can stitch it on there. Remove the paper and lay the letters back down on the towel...
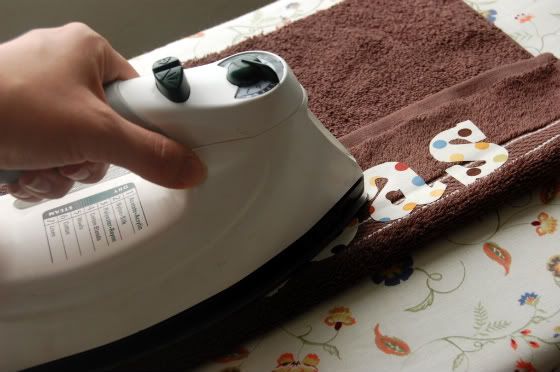
and then iron those bad boys on there.
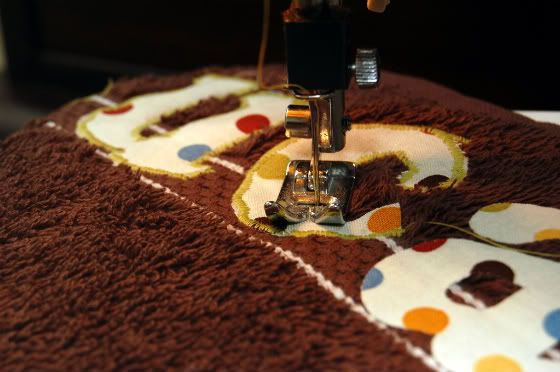
then you're going to stitch the letter to the towel. The zig zag stitch is probably the easiest to use, I think. Don't look to closely at my stitching, my poor old ancient machine has been giving me heck. My pedal has started sticking so my stitching gets a little crazy. Before you start stitching, make sure you unfold your towel. You don't want to stitch it folded yet. Stitch all your letters on!
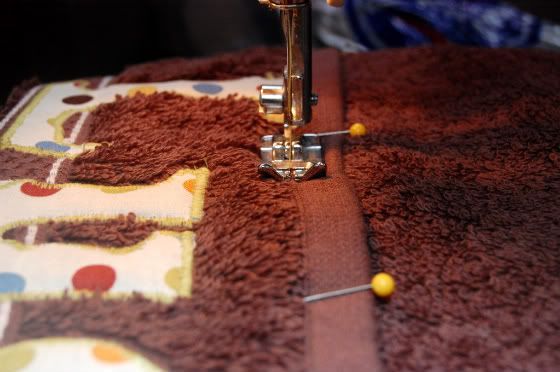
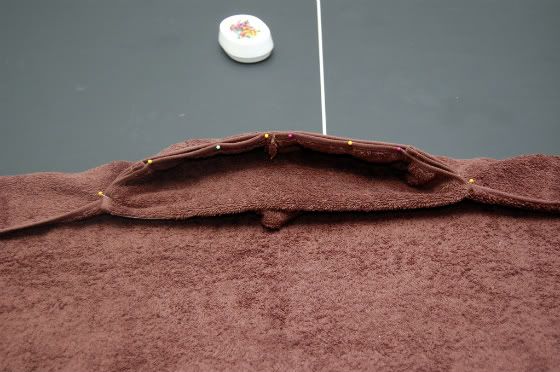
Once all the letters are stitched on, then fold your towel back on the line and pin. Then stitch along the top of the letters like the photo. Don't worry about stitching straight. You won't even see your thread once you're done.
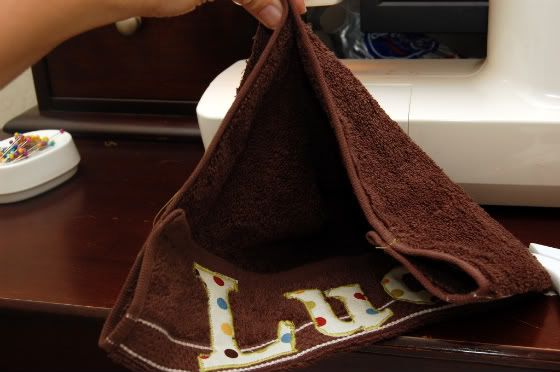
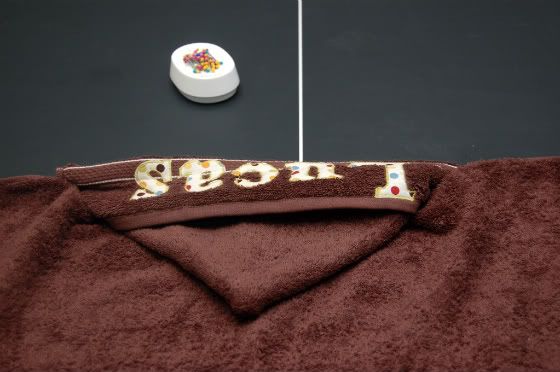
You're almost done with the hood of the towel. Now take your towel and fold it with the letters on the inside like so. You're going to stitch the top of the hood. Pin along the top and sew straight across.
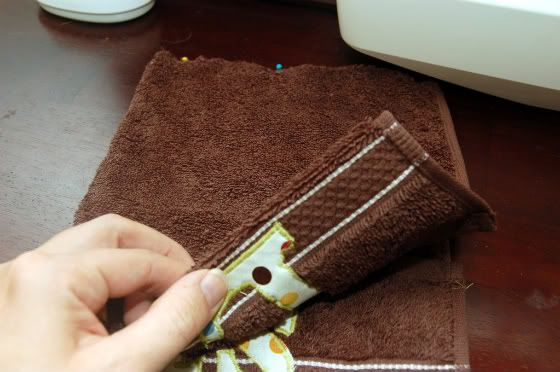
Here's another photo. See the pins on the top? The letters are also on the inside of the fold. Stitch right across the top.
Remove the pins and fold the towel right side out. You made the hood. There is only one more step. You just have to attach it to the towel.
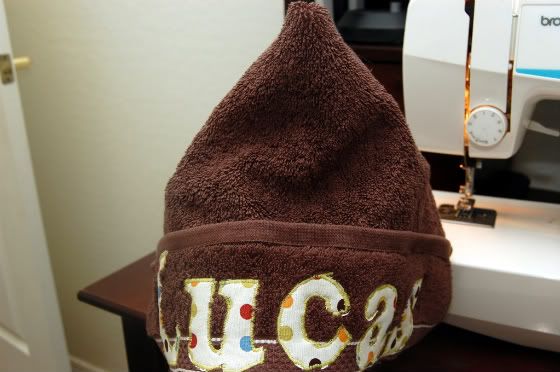
Okay, take your full sized towel and fold it in half. Pay attention to the half way point of the towel because that is where you're going to line up the hood. You want to attach the hood in the center of the towel. Put a pin or something there to mark it. Then take your hood and line up the center of the back bottom of the hood to the pin that marks the center of the towel. You'll line them up with the letters on the hood facing up. Pin it so it will stay in place while you stitch. Your machine will be sewing through a few layers of towel so it will be thick.
Here's another photo...
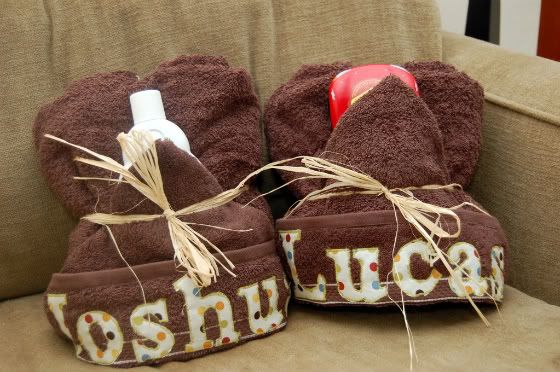
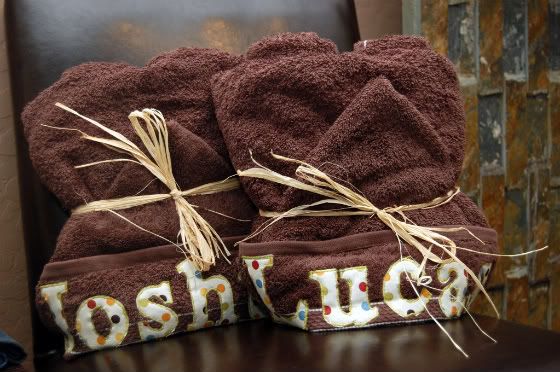
Of course I forgot to take a photo of the towel all done and unfolded so you could see it. I did however take a photo of how I like to fold them after they're finished. I made 2 towels. I bought 2 full sized towels and one hand towel. I just used the other half of the hand towel after it was cut for the other hood. I also buy all my towels at target when they go on clearance. I stock up.
They also look cute with a bottle of bubble bath tucked in there too!
There might seem to be a lot of steps and I hope I didn't make it too confusing. They're actually really easy. let me know if you have any questions or if I need to explain a little more. Go make one and send me pics. I'd love to see your creations!
Also, I took some good advice from Beth. I made a towel for my 10 year old niece too. Since she was so tall the hooded towel wouldn't really fit right. Her bum probably would have hung out the bottom. So, when I made hers I just put her name at the end of the towel instead of making a hood for it. Still so cute!
p.s. are you as excited as I am to get those picture of my toilet off the top of my blog?
Subscribe to:
Post Comments (Atom)











15 comments:
So cute! I am bookmarking this because I want to make one...
Is it bad that I want to make one for me with a bath sheet:)
Another idea-tip is to trace the letters onto the heat and bond before you iron it on to the fabric. It is see through at this point and it would save the work of cutting the letters out. I cannot WAIT to make some for Christmas gifts! Thanks!!!
I think you should totally make one for yourself. We all need a little something to keep us feeling young right? I love your blog Wendy!
Good tip Brenda! Thanks. There ya go ladies, one step less. Woo Hoo!
Awesome!! The gears in my head are moving... Christmas, here we come! :-) Thanks, Shawna!!
Shawna, I love them!!! I might have to make one for B. When does target have the sales??? You are so talented!!
I'm not sure when target has their towels on clearance. I'm there so often I just check every once in a while. I am assuming they have them at the end of the seasons. Next time I'm there and I see them on clearance, I'll let you know!
Too cute!! I love it!
They look so good! was it really difficult to do? I have actually just bought them some new bamboo bath towels, made from bamboo, so soft and lovely. I'm gonna get myself a dressing gown. but the kids would love it if i could make those, put them on their beds before bath time. they are really fun. Are they quite easy to do?
Yes, they're pretty easy. My first one that I made took a little longer because it was my first time using the heat n bond. After that step was done it went by pretty quick. It now takes me about an hour from start to finish depending on the length of the name. Kids love em and I think they make great gifts. I was sooo excited when my son got his!
thank you for the tutorial, I've always wanted to make one of these
Okay, in a random image search for Hershey's Hugs, I found your blog. It looks like a new favorite hot spot website. Thanks for sharing your talent and ideas with others. I look forward to trying some of them out.
Shawna did I ever thank you enough for the towels??? They are amazingly cute! I absolutely love them!! THANK YOU THANK YOU THANK YOU!!!
How precious!! I am jealous because I can't sew. Showing you some bloggy love via - Six Divided By Two.
Oooh I love your tutorial...lucky me I'll never have to make one since my little guy got your package in the mail on his birthday!! YAY ME..I am so blessed to have you as my friend :D
SOOOOOOOO DARLING
Post a Comment